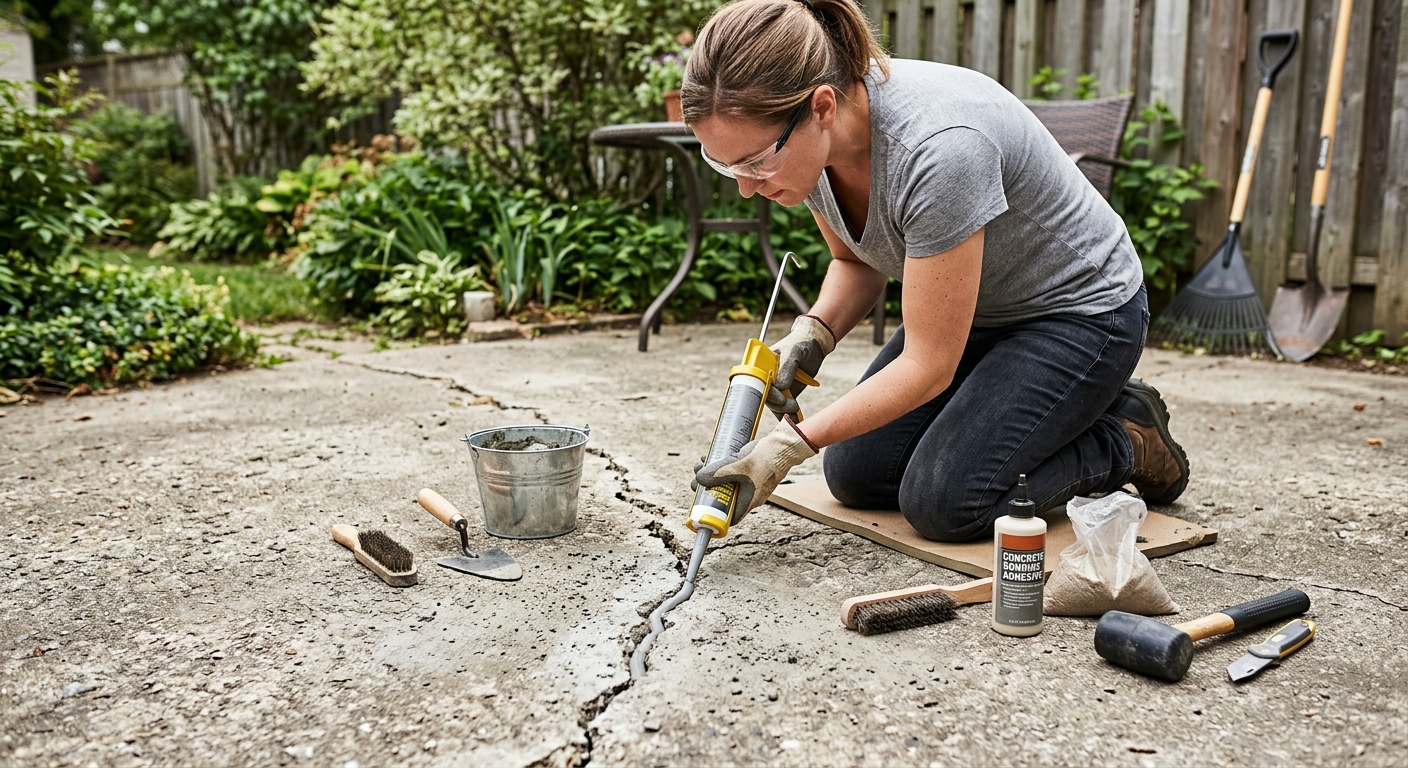
How to Repair a Cracked Concrete Patio | A Complete DIY Guide
A cracked concrete patio doesn’t just look bad; it also invites water damage, weeds, and tripping hazards. Fortunately, you can fix most cracks yourself with the right materials and a little patience. Below, you’ll find a step-by-step process, plus expert tips to make your repair last for years.
Why Concrete Patios Crack in the First Place
Before you grab a trowel, it helps to understand the cause. Otherwise, you might patch the crack today only to watch it reopen next season. Common causes include:
- Freeze-thaw cycles: Water seeps into tiny pores, then expands as it freezes, so the concrete slowly fractures.
- Soil movement: Because the ground beneath your patio shifts with moisture and temperature, the slab above it can settle unevenly.
- Heavy loads: Furniture, vehicles, or hot tubs placed on unreinforced concrete often stress the surface beyond its limit.
- Poor original mix or curing: If the concrete cured too quickly or contained too much water, it becomes prone to shrinkage cracks.
- Tree roots: As roots grow beneath the slab, they exert upward pressure that eventually splits the surface.
Once you identify the underlying cause, you can decide whether a simple cosmetic fix will do, or whether you need a structural repair instead.
Tools and Materials You’ll Need
- Concrete crack filler or patching compound
- Concrete bonding adhesive
- Hammer and cold chisel
- Wire brush and shop vacuum
- Caulking gun (for narrow cracks)
- Trowel and float
- Safety goggles and gloves
- Garden hose or pressure washer
- Concrete sealer (optional but recommended)
Step 1: Assess the Crack’s Severity
First, examine the crack closely. Hairline cracks under 1/8 inch typically need only a simple filler, whereas wider or deeper cracks require a more robust patching compound. Additionally, check whether one side of the crack sits higher than the other; this often signals soil settlement rather than a surface-level issue, and it may need professional leveling instead of a DIY fix.
Step 2: Clean the Crack Thoroughly
Next, use a wire brush to remove loose debris, dirt, and old sealant from inside the crack. Afterward, widen the crack slightly with a chisel if it has a V-shape narrower at the top than the bottom; this “keyhole” shape helps the patching material lock in place. Finally, vacuum out all dust, then rinse with a hose and let the area dry completely for at least 24 hours before proceeding.
Step 3: Apply a Bonding Agent
Since fresh patching material doesn’t always adhere well to old, cured concrete, apply a concrete bonding adhesive along the crack’s edges first. This step significantly improves adhesion and reduces the chance of the patch popping out later.
Step 4: Fill the Crack
For hairline cracks, load a caulking gun with a flexible concrete crack sealant, then run a steady bead directly into the gap. For wider cracks, however, mix a vinyl concrete patching compound according to the manufacturer’s instructions, then press it firmly into the crack with a trowel so no air pockets remain. Consequently, the patch bonds more evenly and resists cracking under future stress.
Step 5: Smooth and Level the Surface
While the compound is still workable, drag a flat trowel across the surface to level it with the surrounding patio. Moreover, feather the edges outward so the repair blends in rather than creating a noticeable ridge. If you want a textured finish that matches the rest of the patio, lightly dab the surface with a sponge or broom before it sets.
Step 6: Cure the Patch Properly
Curing matters just as much as application. Therefore, cover the repaired area with plastic sheeting to slow moisture loss, and avoid foot traffic for at least 24 to 48 hours. Full curing generally takes about a week, so hold off on placing furniture or grills on the patch until then.
Step 7: Seal the Entire Patio
Once the repair cures completely, apply a concrete sealer over the whole patio surface, not just the patched area. This extra step protects against future water intrusion, UV damage, and stains, thereby extending the life of both the repair and the surrounding slab. Most sealers need reapplication every two to three years, depending on climate and foot traffic.
When to Call a Professional
While small and moderate cracks are manageable DIY projects, certain warning signs mean it’s time to call a concrete contractor:
- Cracks wider than 1/4 inch that keep expanding
- Noticeable height differences between slab sections
- Multiple interconnected cracks forming a spiderweb pattern
- Cracks accompanied by sinking or pooling water
In these cases, the issue likely stems from a deeper structural or drainage problem, so a patch alone won’t solve it.
Preventing Future Cracks
- Reseal your patio every few years to keep water out.
- Trim nearby tree roots before they reach the slab.
- Avoid placing extremely heavy or concentrated loads on unsupported areas.
- Ensure proper drainage so water doesn’t pool against the foundation.
- Address hairline cracks immediately, since small issues become bigger ones quickly.
Frequently Asked Questions (FAQs)
Q: Can I repair a cracked concrete patio myself, or do I need a professional?
A: In most cases, yes, you can repair it yourself, especially for hairline or moderate cracks. However, structural issues like sinking slabs usually require professional leveling or mudjacking.
Q: How long does a concrete crack repair last?
A: A properly cleaned, bonded, and sealed repair can last 10 years or more, although harsh climates and heavy use may shorten that lifespan.
Q: What’s the best filler for small hairline cracks?
A: A flexible polyurethane or acrylic crack sealant works best because it expands and contracts with temperature changes, unlike rigid fillers that tend to crack again.
Q: Should I repair a crack in cold or wet weather?
A: No, ideally you should wait for dry conditions with temperatures above 50°F, since moisture and cold interfere with proper curing and adhesion.
Q: Why does my patched crack keep reopening?
A: Usually, this happens because of poor surface cleaning, inadequate bonding agent, or an underlying structural issue like soil movement that wasn’t addressed first.
Q: Do I need to seal the whole patio after patching one crack?
A: Yes, sealing the entire surface protects it uniformly, prevents future moisture damage, and helps the new patch blend seamlessly with the old concrete.