
How to Install Metal Roofing | Complete Installation Guide
Metal roofing has become one of the most popular choices for homeowners today. Not only does it last 40-70 years, but it also offers superior energy efficiency, weather resistance, and curb appeal. If you want to install metal roofing yourself, this guide walks you through every essential step clearly and confidently.
Why Choose Metal Roofing?
Before diving into installation, consider why metal roofing stands out:
- Durability: Metal roofs withstand winds up to 140 mph and resist fire, mildew, and insects.
- Energy Savings: Reflective coatings reduce cooling costs by up to 25%.
- Longevity: Metal roofing outlasts asphalt shingles by 3-4 times.
- Eco-Friendly: Most metal roofing contains 25-95% recycled material.
Tools & Materials You Need
First, gather everything before you start. This saves time and keeps the project moving smoothly.
Tools:
- Tin snips or electric metal shears
- Cordless drill with screwdriver bits
- Tape measure and chalk line
- Safety harness and non-slip boots
- Ladder and scaffolding
- Rubber mallet
Materials:
- Metal roofing panels (steel, aluminum, or copper)
- Underlayment (synthetic or felt)
- Metal roofing screws with rubber washers
- Ridge cap panels
- Flashing tape and trim pieces
- Butyl tape or sealant
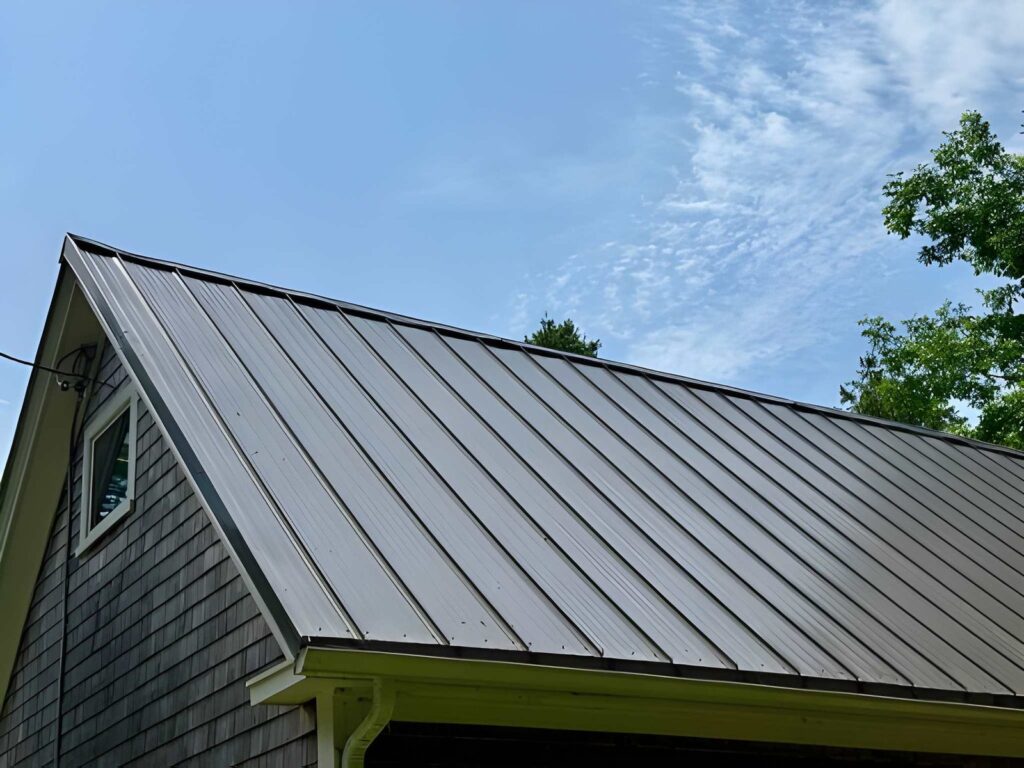
Step-by-Step: How to Install Metal Roofing
Step 1 Measure and Plan Your Roof
First and foremost, measure your roof’s total square footage. Add 10-15% extra to account for cuts and waste. Additionally, check the slope metal roofing works best on roofs with a 3:12 pitch or steeper. Always create a detailed layout plan before ordering materials.
Step 2 Remove the Old Roofing (If Needed)
In many cases, you can install metal roofing over one existing layer of asphalt shingles. However, if the deck shows rot or structural damage, remove the old material completely. Furthermore, inspect the roof deck and replace any damaged plywood or OSB boards before moving forward.
Step 3 Install the Underlayment
Next, roll out the synthetic underlayment across the entire roof deck. Start from the bottom edge and work upward, overlapping each row by at least 6 inches. Moreover, use cap nails to secure it firmly. Underlayment acts as a critical moisture barrier, so never skip this step.
Step 4 Install Eave Trim and Drip Edge
After laying the underlayment, attach the eave trim along the bottom edges of the roof. This trim directs water away from the fascia board and into the gutters. Consequently, it prevents wood rot and water damage over time. Secure it with roofing screws every 12 inches.
Step 5 Lay the First Metal Panel
Start at the bottom corner of the roof typically the left side. Place the first panel so it overhangs the eave by about 1 inch. Additionally, ensure the panel aligns perfectly with the roof edge using your chalk line. Then, drive screws through the flat sections of the panel into the roof deck. Always use the manufacturer’s recommended screw spacing, usually every 12-18 inches.
Step 6 Continue Installing Panels
Subsequently, overlap each new panel over the previous one according to the manufacturer’s specifications typically one rib width. Keep checking alignment after every few panels. Otherwise, small errors multiply quickly and create visible misalignment. Use your chalk line frequently to stay on track.
Step 7 Cut Panels Around Obstacles
Whenever you encounter vents, chimneys, or skylights, measure carefully and mark the cut line. Use tin snips or an electric shear to cut along the line. Furthermore, always wear gloves when handling cut metal edges, as they become extremely sharp. Smooth any rough edges with a metal file.
Step 8 Install Flashing Around Penetrations
Around every roof penetration chimneys, vents, and pipes install metal flashing to seal gaps. Apply butyl tape underneath the flashing before screwing it down. As a result, you create a completely watertight seal that holds up through heavy rain and snow.
Step 9 Install the Ridge Cap
Finally, install the ridge cap panels along the peak of the roof. These panels cover the gap between the two roof slopes and protect against wind-driven rain. Overlap ridge cap sections by at least 6 inches and fasten them securely. Additionally, apply closure strips underneath the ridge cap to block insects and debris.
Step 10 Inspect and Clean Up
Once installation is complete, walk the entire roof carefully and check every screw, seam, and flashing detail. Replace any screws that appear over-tightened or under-driven. Also, remove all metal shavings from the roof surface immediately, as they rust quickly and stain the panels.
Our Complete Roofing Services
We offer a full range of professional roofing solutions:
|
Service |
Description |
|
Metal Roof Installation |
Full residential and commercial metal roofing |
|
Asphalt Shingle Roofing |
Affordable, durable shingle installation |
|
Roof Repair & Patching |
Fast fixes for leaks, damage, and storm wear |
|
Roof Replacement |
Complete tear-off and new roof installation |
|
Flat Roof Installation |
TPO, EPDM, and modified bitumen systems |
|
Roof Inspection |
Detailed assessment with written report |
|
Gutter Installation & Repair |
Seamless gutters and downspout systems |
|
Skylight Installation |
Natural light solutions with watertight sealing |
|
Emergency Roofing Services |
24/7 response for storm and wind damage |
|
Roof Ventilation |
Ridge vents, soffit vents, and attic fans |
|
Commercial Roofing |
Large-scale roofing for warehouses and offices |
|
Roof Coating & Waterproofing |
Reflective coatings for energy efficiency |
Frequently Asked Questions (FAQs)
Q1: Can I install metal roofing over existing shingles?
Yes, in most cases you can install metal roofing over one existing layer of asphalt shingles. However, always check local building codes first, as some areas restrict this practice.
Q2: How long does a metal roof installation take?
Typically, a professional crew completes a standard residential metal roof in 1-3 days. As a DIY project, it may take a weekend or slightly longer depending on your skill level and roof complexity.
Q3: Do metal roofs make noise during rain?
Not significantly. Because metal roofing installs over solid decking and underlayment, it actually performs similarly to asphalt shingles in terms of noise. In fact, many homeowners report no difference at all.
Q4: What is the best type of metal roofing for homes?
Steel and aluminum panels are the most popular choices. Steel offers strength and affordability, while aluminum resists corrosion exceptionally well making it ideal for coastal areas.
Q5: How much does metal roofing cost?
On average, metal roofing costs between $7 and $14 per square foot installed, depending on the metal type and panel style. Though the upfront cost exceeds asphalt shingles, the long lifespan makes it a smarter long-term investment.
Q6: Do I need a permit to install metal roofing?
Most municipalities require a building permit for roof replacement. Therefore, always contact your local building department before starting the project to avoid fines or complications when selling the home.
Installing metal roofing demands careful preparation, quality materials, and attention to detail. With the right tools and this step-by-step approach, you can achieve a durable, professional-quality result that protects your home for decades.